

Rated 4.7 out of 5 stars
4.7 / 5


726,000+ customers
Free 60-Day Returns
1-Year Warranty
726,000+ customers
Free 60-Day Returns
1-Year Warranty
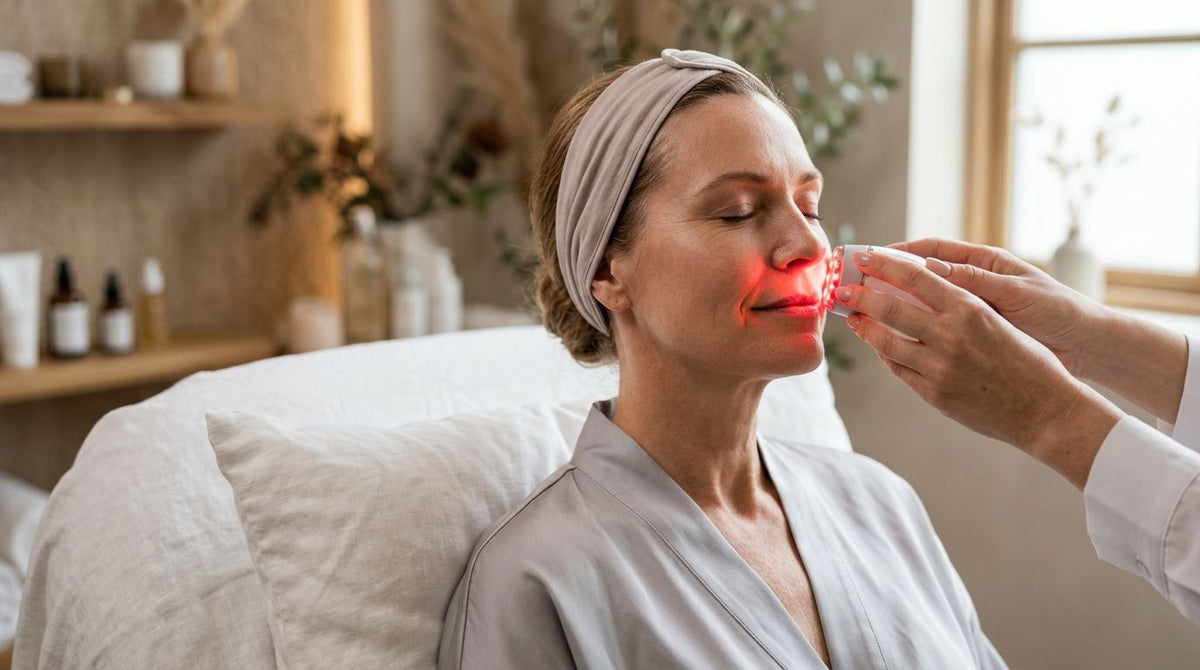
Red light therapy for nasolabial folds uses red and near-infrared wavelengths to stimulate collagen in the two creases that run from the sides of your nose to the corners of your mouth, with the goal of softening depth and improving texture over weeks, not days. Nasolabial folds behave differently than forehead lines or crow's feet because the skin here moves constantly with speech and expression, so a routine built for a static area like the forehead tends to undertreat this zone.
Nasolabial folds get less attention in most red light guides than crow's feet or forehead lines, but the skin along the nose-to-mouth crease is thinner and moves more than almost anywhere else on the face. Every smile, chew, and word deepens the fold before treatment even starts, which means the area needs both direct light exposure and a device that can angle into a crease rather than a flat panel resting over it.
That's a big part of why a handheld red light therapy wand built for spot work reaches the fold in a way a mask alone can't. Solawave's devices carry FDA clearance for the wavelengths used in the fold area, which matters if you're layering multiple products or comparing this to other at-home options in 2026.
If what you're actually dealing with is fine lines around the mouth rather than the crease itself, Solawave's guide to the best wand for fine lines around the mouth covers that distinction — the two concerns overlap but respond to slightly different technique.
Not every fold responds the same way, so start with an honest look before picking a routine.
A plain hydrating serum with hyaluronic acid gives a wand head slip and helps light absorb into skin instead of reflecting off dry patches — that's the free version of this step. The faster path is a serum built for the device: Solawave's LightBoost Face & Neck Serum with niacinamide is formulated to layer under the wand and mask rather than running the device on bare skin.
Without a device, the closest free equivalent is a strict retinol-and-SPF routine plus daily facial massage — slower and less targeted than direct light exposure. With a device, choose based on how much of the face you want covered per session.
| Option | Best for | Key limitation |
|---|---|---|
| Handheld red light wand (Solawave Radiant Renewal Skincare Wand) | Spot-treating the nasolabial fold directly, with built-in massage | Manual technique required, covers one area at a time |
| Full-face LED mask (Solawave Wrinkle Retreat Pro) | Treating the fold plus forehead, cheeks, and mouth area in one session | Passive coverage, no built-in massage for the fold specifically |
| Topical serum or cream without light | Budget layering step or a bridge between device sessions | No photobiomodulation effect on its own, slower on texture |
| Injectable fillers or thread lifts | Deep folds driven mainly by volume loss | Outside the red light therapy category, different cost and downtime profile |
Verdict: a handheld wand wins for anyone treating the nasolabial fold as an isolated concern; a full-face mask wins if the fold is one of several areas you're addressing at once.


What's the best red light therapy device for nasolabial folds?
A handheld wand designed for spot treatment, such as Solawave's Radiant Renewal Skincare Wand, targets the nasolabial fold more precisely than a flat panel mask. Full-face masks work well if you want the fold treated alongside forehead and cheek lines in the same session.
How long does red light therapy take to soften nasolabial folds?
Most people notice texture and tone changes around 8 to 12 weeks of consistent use, at 3 to 5 sessions a week. Depth of a long-standing fold changes more slowly than surface texture does.
Is red light therapy better than fillers for nasolabial folds?
Red light therapy improves skin texture and mild-to-moderate crease depth without downtime, while fillers address volume loss directly and work faster on deep folds. The two aren't interchangeable — fillers add volume, light therapy improves the skin covering it.
Can red light therapy make nasolabial folds worse?
No, but pressing too hard on the thin skin near the mouth, or overusing an aggressive setting, can cause irritation that temporarily looks worse. Following the recommended session time and weekly cadence avoids that.
How often should you use red light therapy on smile lines?
3 to 5 times a week is the range most people stick with without burning out on the routine. Daily back-to-back sessions don't speed up collagen remodeling, so consistency across weeks matters more than frequency in any single week.
Does red light therapy work on deep, long-standing nasolabial folds?
It improves the texture and tone of skin around a deep fold, but it won't fully close a crease driven by significant volume loss. Combining light therapy with a dermatologist-guided plan works better for folds that have been present for years.
Can you combine red light therapy with retinol for nasolabial folds?
Yes, but apply retinol at night and save light therapy sessions for a different time of day, since retinol increases light sensitivity. Using both on the same skin without spacing them raises irritation risk on the thin skin near the mouth.
Are at-home red light therapy devices for nasolabial folds FDA-cleared?
Some are — Solawave's devices, for example, carry FDA clearance for the wavelengths and intended use covered in this guide. Clearance status varies by brand, so check the specific device before buying.
One detail most guides on red light therapy for nasolabial folds skip: near-infrared wavelengths penetrate several millimeters deeper than red light alone, reaching closer to the muscle layer beneath the crease instead of stopping at the surface. That's the practical reason devices combining red and near-infrared tend to outperform red-only panels on this specific fold — the muscle movement that deepens the crease every time you smile sits below where red light alone reaches. If you're choosing between two similar-looking devices in 2026, check whether near-infrared is actually part of the spec, not just red LEDs.
 Acne
Acne

